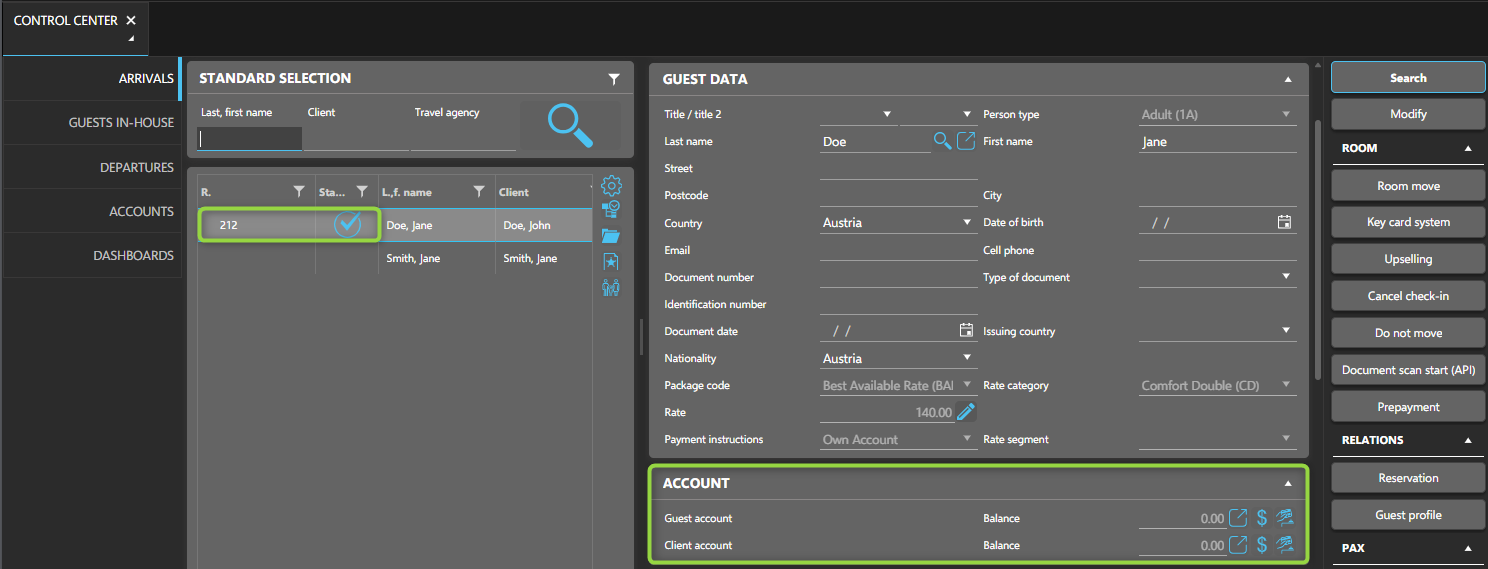
You can check in guests using different layouts, such as the Room rack, Reservation, Rooming list, or Control Center. The following steps outline how to check in guests and rooms using the Control Center.
The Control Center gives you an overview of the current day arrivals, departures, in-house guests and accounts.
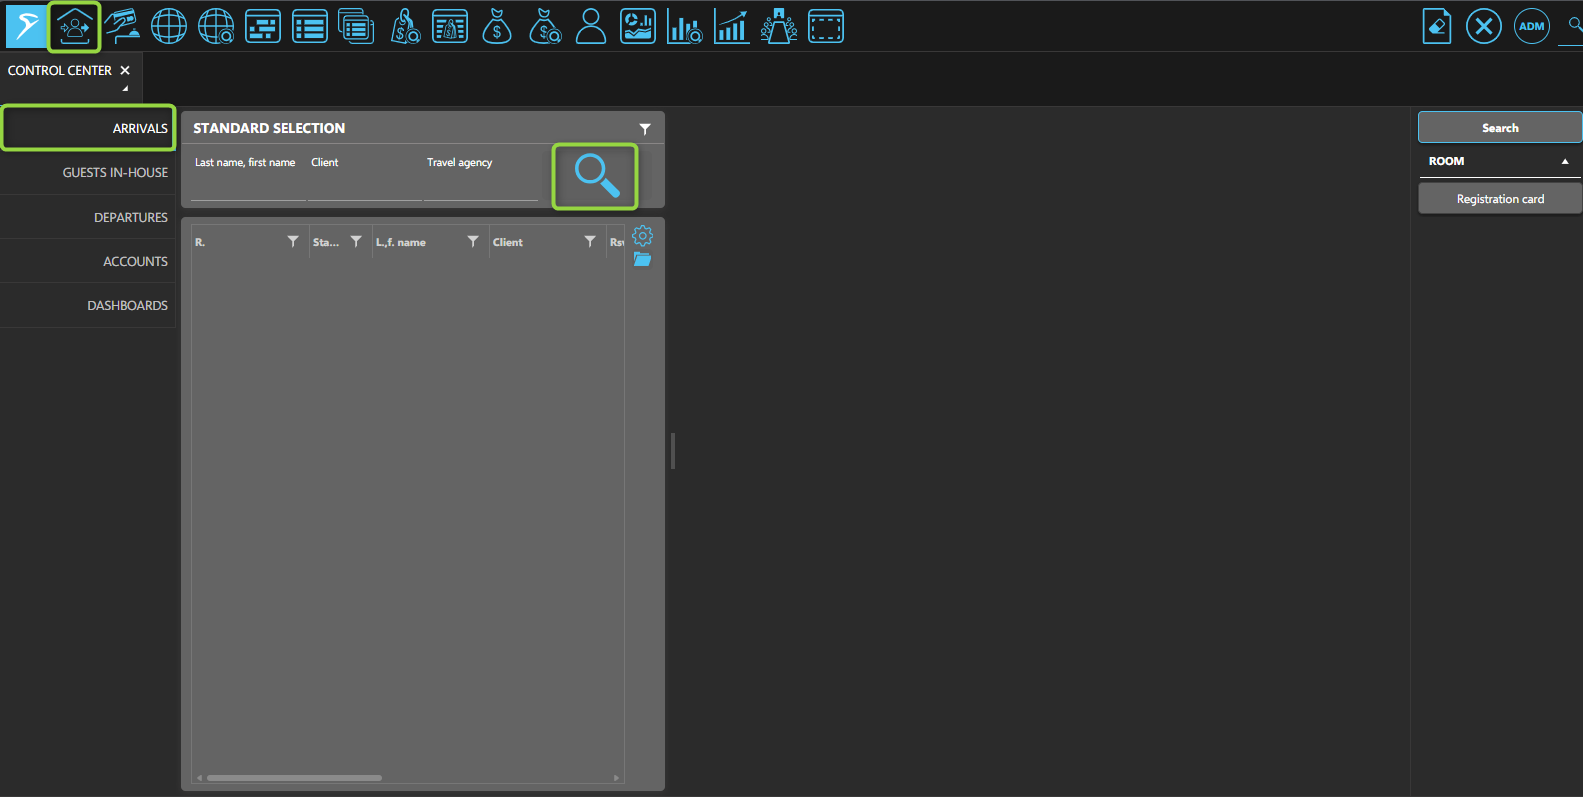
Open the Control Center by selecting its shortcut from the toolbar.
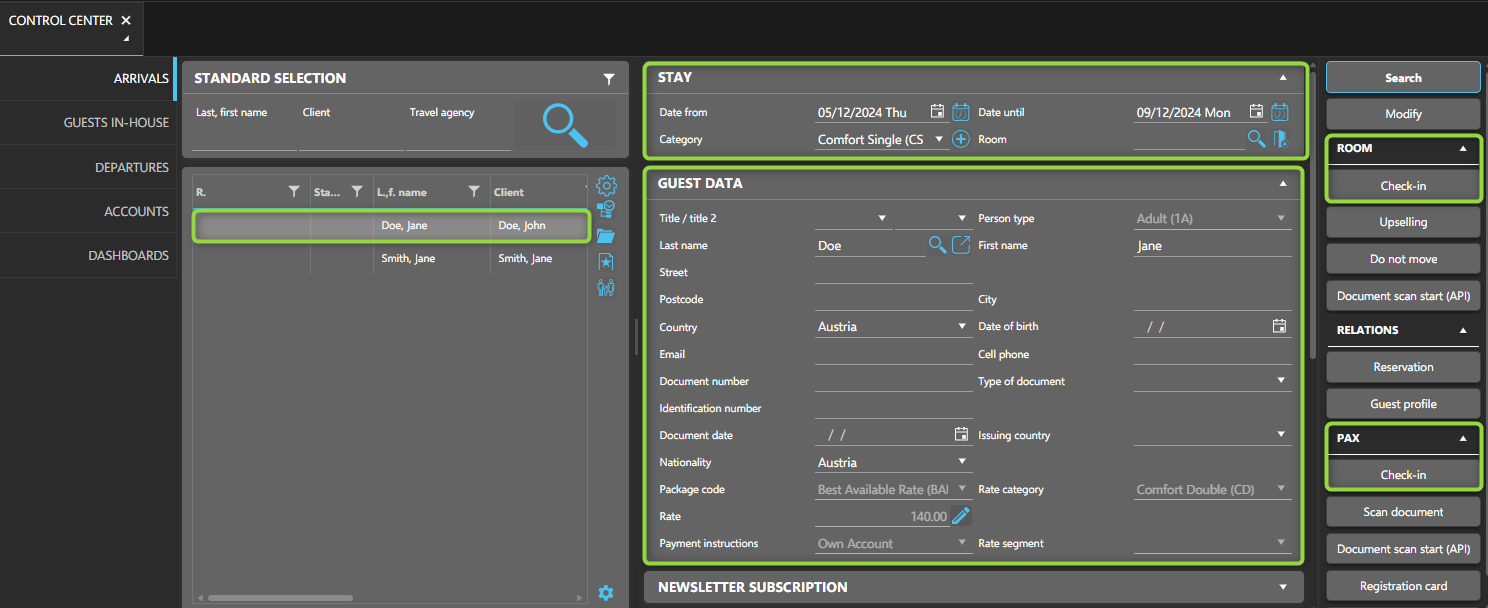
In the Arrivals Tab, click the Search-button to see all guests arriving, or search by the guest's name, client, or travel agency.
You can process a checkout for guests through various layouts, such as Room rack, Reservation, Rooming list, or Control Center. Just like check-in, checkout can be done individually.
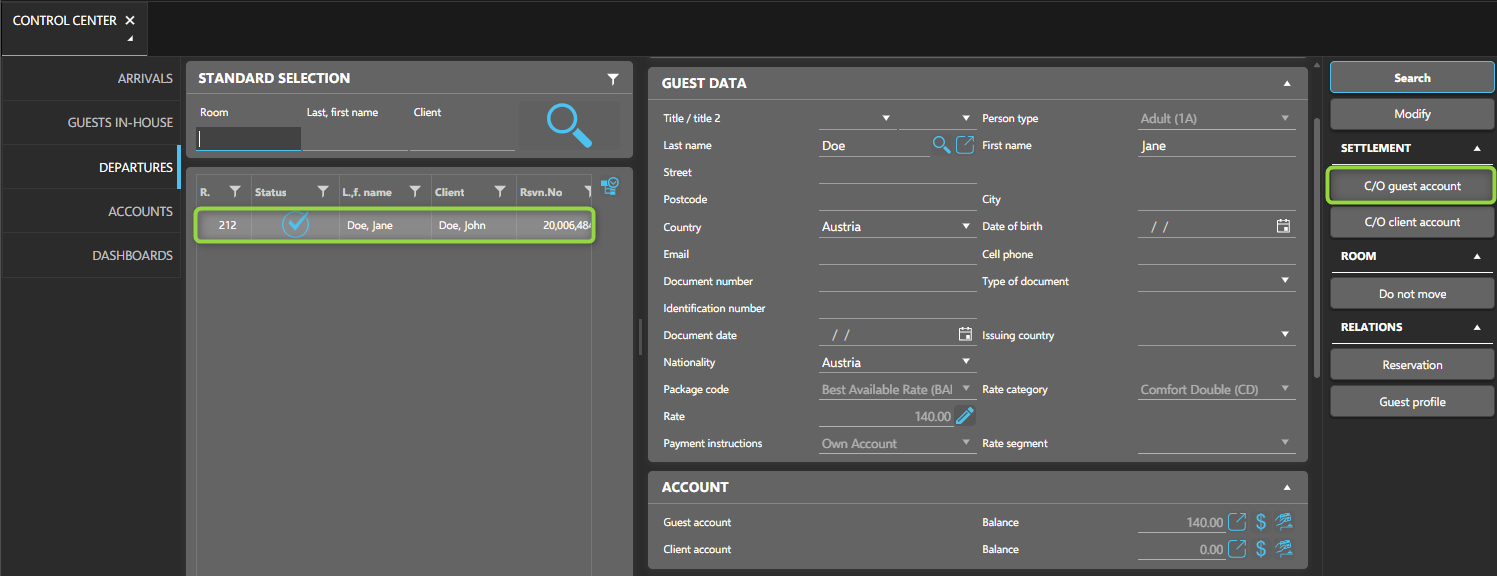
Go to the Departures Tab and click the Search button to view all guests who are checking out. You can also filter by guest name, client, or travel agency.
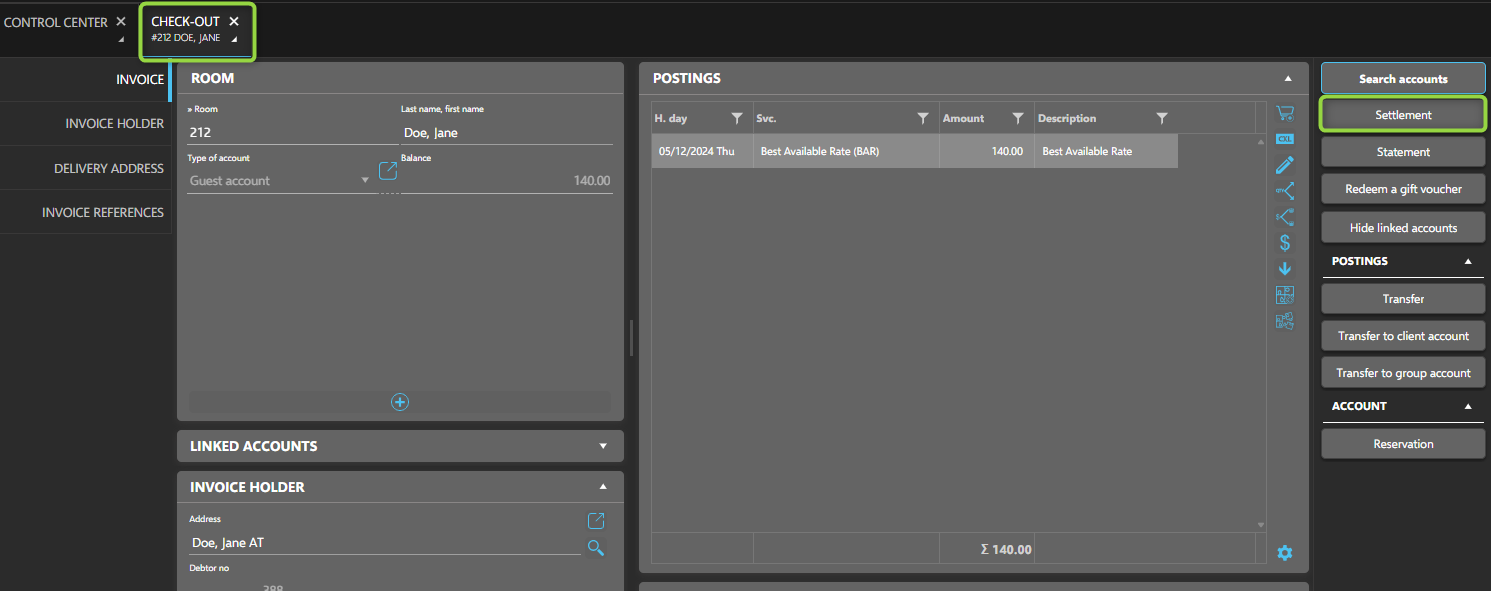
Select the guest to check out. Their stay and personal details will appear, along with the option to proceed with the Checkout.